Beekeeping for Beginners: What Our First Year Taught Us
 By Jenni Sekine
Heads up: this post contains affiliate links. If you buy through them we may earn a small commission, at no extra cost to you. As an Amazon Associate we earn from qualifying purchases.
In this guide
- Our first year of beekeeping
- Step 1: Choose your bees
- Step 2: Get your hive and gear ready
- Step 3: Install day (terrifyingly exciting!)
- The first months: feeding and inspections
- Beekeeping with kids
- How much does it cost to start beekeeping?
- A beekeeping year at a glance
- Beekeeping for beginners FAQ
- Should you start beekeeping?
- Sources
Our first year of beekeeping
This year, our little homestead got about 5,000 new residents. Yep, we became beekeepers!
We’d talked about keeping bees for ages. Our garden, our fruit trees, and honestly, my love of all things nature-related made it feel like the next step. When a friend offered us an already built hive (sans the bees), we finally took the leap. Now Bryan and I get to drink coffee together in the morning and watch our ladies wake up and start their day!
I’m not going to pretend I’m an expert. I’m a first-year beekeeper, and that’s exactly why I’m writing this. If you’re standing where we stood, excited, a little nervous, and googling everything, this is the guide I wish I’d had. I’ll walk you through how we got started, what surprised us, what it cost, and what I’d tell any beginner.
Let’s geek out about bees!
Step 1: Choose your bees
Nuc vs. package bees
There are two common ways to buy your first bees:
| Nuc | Package | |
|---|---|---|
| What you get | A small working colony on 3–5 frames, with a laying queen, brood, honey, and pollen | 2–3 pounds of loose bees and a caged queen, no frames |
| The queen | Already laying and accepted by the colony | Has to be introduced and accepted |
| Head start | Big – the colony is already up and running | Starts from scratch, building comb first |
| Cost | Usually more | Usually less |
| How you get it | Usually picked up locally | Can be shipped |
We went with a nuc, and I’m so glad we did. As a brand-new beekeeper, I loved knowing our queen was already proven and laying. The bees came with their own frames of brood and food, so they had a running start in their new home.
Why we chose Oklahoma-raised Carniolan bees
There are several types (or “stocks”) of honey bees. We chose Carniolans, often called “Carnis,” that were bred and raised right here in Oklahoma.
Carniolans are known for being gentle and calm, which mattered a lot with four kiddos on the homestead. They’re also thrifty in winter and build up quickly in spring. The trade-off? That fast spring growth means Carniolans tend to swarm, so you have to stay on top of giving them space.
Buying from a local breeder was just as important to us as the stock. Bees raised in Oklahoma are already used to our wild weather, from scorching summers to surprise ice storms. We met our local breeder at a Tractor Supply parking lot in a city about 90 minutes from Oklahoma City to pick up our nuc. It was so exciting hearing their gentle hum in the trunk of our Odyssey.
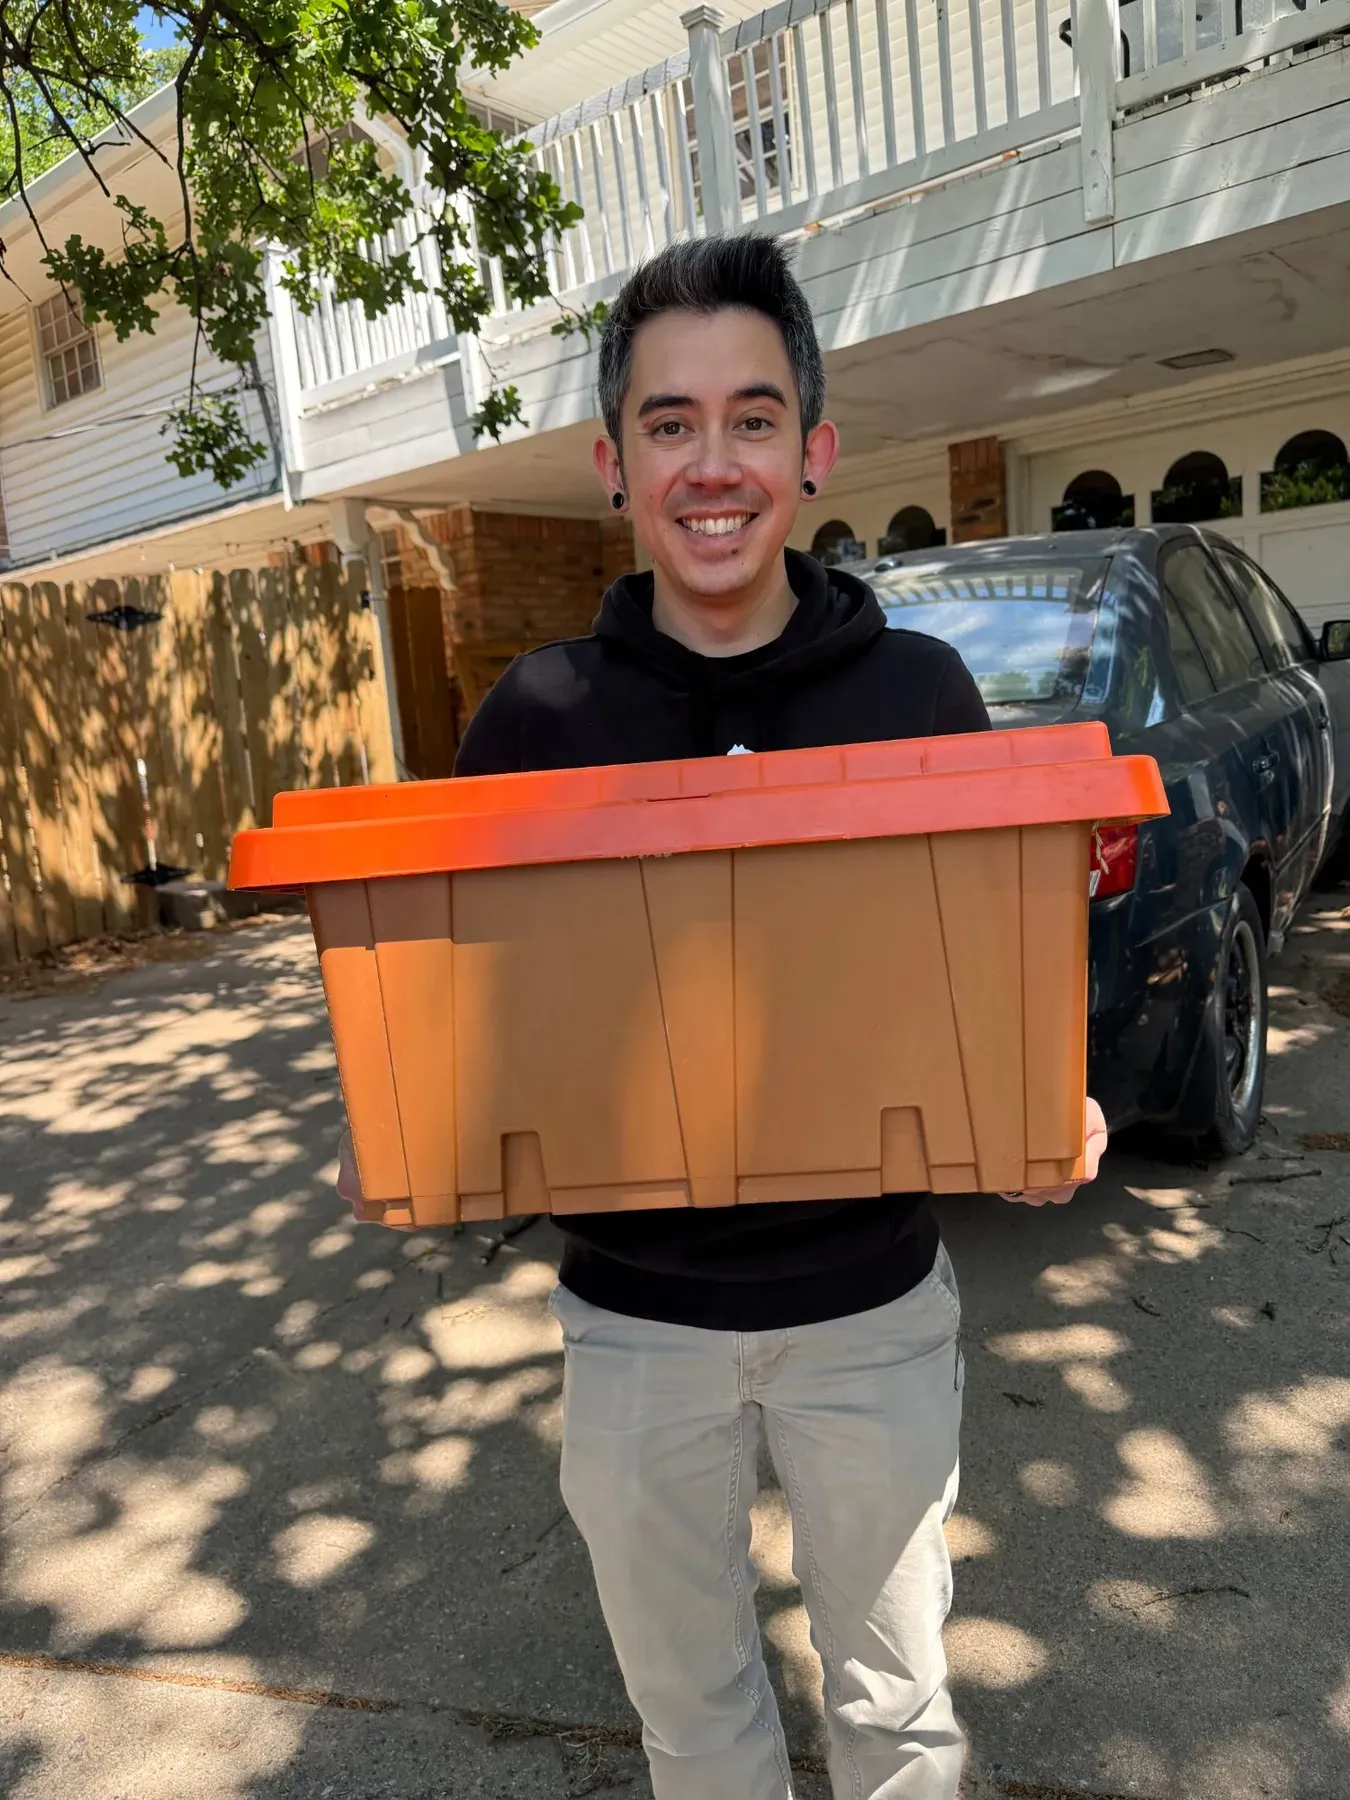
Bryan bringing home our nuc of Oklahoma-raised Carniolans.
My tip: Order early. Local nucs often sell out months ahead of spring pickup.
Step 2: Get your hive and gear ready
We got lucky here because we bought a Langstroth hive from a friend for a low price. He built and painted the hive but never took the next step of buying his own bees, so he decided not to jump into beekeeping. If you’re buying new, the Langstroth hive is the most common choice for beginners, and most local nucs are built to fit it.
Check this before pickup day: make sure your hive’s frames match your nuc’s frames (deep vs. medium). A deep nuc needs a deep box.
The beginner gear list
Oklahoma State University Extension’s beginner list covers the essentials:
- The hive: bottom board, brood box with frames, inner cover, and outer cover. An entrance reducer is a helpful extra.
- A stand and tie-down: cinder blocks and plywood work fine. Strap the hive down, because Oklahoma wind is no joke. Bryan built a very sturdy stand for our hive that is long enough to set tools down next to the hive.
- Protective gear: at minimum, a veil and gloves. Many beginners feel better in a full suit or jacket. Bryan uses a full suit and will wear baggy jeans, whereas I will wear a full suit because I don’t have as many thick or baggy clothes to protect me from stings.
- Tools: a smoker, a hive tool, and a bee brush. We skipped the bee brush at first to find out how useful it is months later. Definitely get a bee brush!
- A feeder: an entrance feeder, an in-hive frame feeder, or a feeder pail, plus plain white cane sugar. Never use organic sugar to make sugar water. We use an in-hive feeder for our girls and a pollen patty.
- A water source with landing spots, like a shallow dish with rocks or floating wood, so your bees don’t visit the neighbor’s pool.
Picking a spot
Choose a well-drained spot with good airflow, raised off the ground, ideally with a windbreak on the north side. We had to follow very specific rules on where to place our bees. Please check out your City’s laws on bees before purchasing them.
And talk to your neighbors before the bees arrive. A jar of honey later goes a long way, too!
Good news for Oklahomans: state law keeps cities and counties from banning beehives. Registering your hive with the state is voluntary, but it puts you on the sensitive-area map that pesticide applicators check. We registered our hive with the state and triple-checked that we were following all the laws for keeping bees in our area.
Step 3: Install day (terrifyingly exciting!)
Of everything in our first year, this is the moment I’ll never forget. Setting up our nuc in its new hive was the most surprising part of the whole adventure. There’s no way to describe letting about 5,000 bees go into a brand-new home except as terrifyingly exciting.
The bees were all so cute with their little faces peeking out of the nuc grates. Bryan and I were both so thrilled to welcome them to their new home. Yet, as soon as we geared up and opened the nuc to move the frames into their new hive, things got wild! The sound and experience of hundreds of bees leaving the nuc and buzzing around you in confused chaos will definitely get your cortisol levels up! 10 minutes after we had set the frames into the hive, I was becoming increasingly anxious that maybe we had made a terrible mistake, one that we could NOT put back because now they were all loose, flying everywhere.
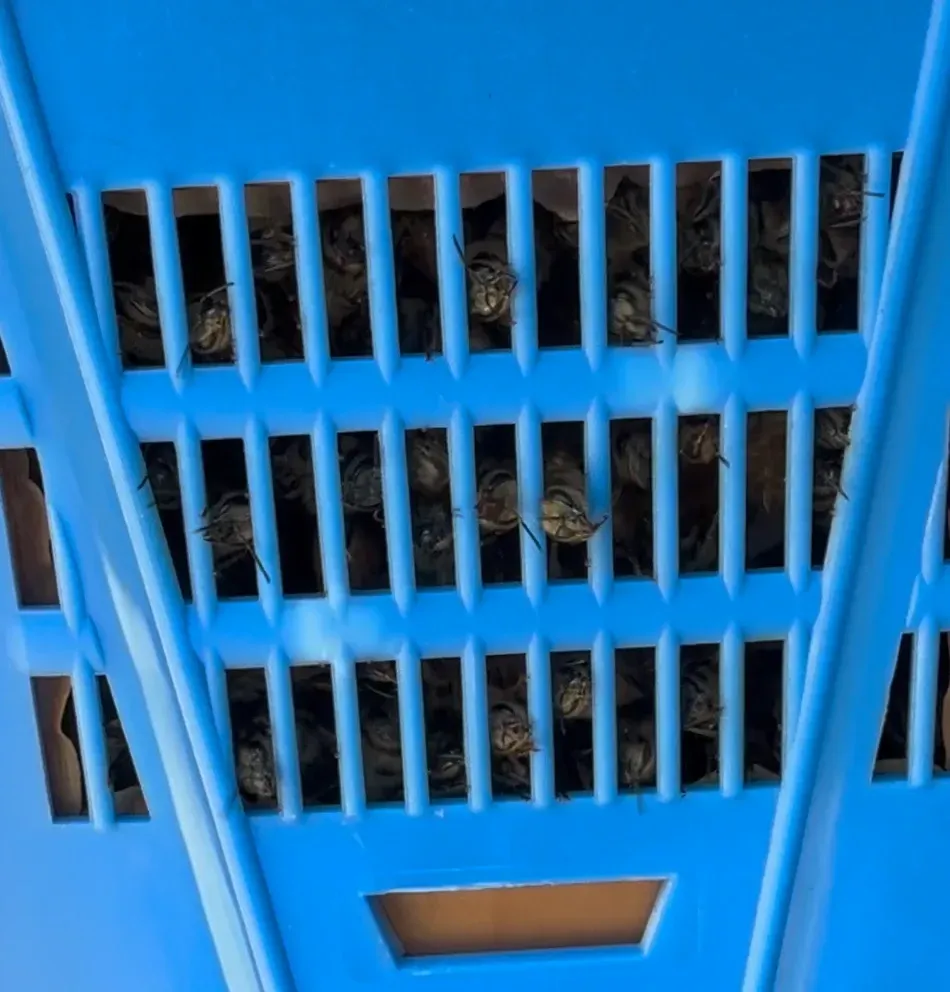
Our new girls peeking out of the nuc grates on install day.
Thankfully, Bryan was my calming guide and believed in the bees. We both knew they were all scattered about because they were trying to figure out where they were and what had happened. After about 2 hours, they settled into their hive, and we were able to be out with them, carrying on outside like normal.
How to install a nuc
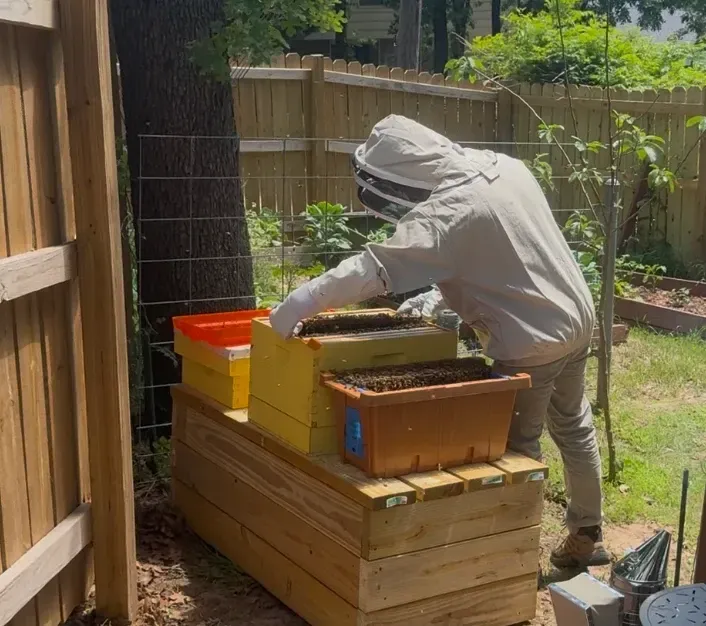
Bryan installing our very first bees, moving each frame from the nuc into its new home.
Installing a nuc is much simpler than installing a package, because you’re moving whole frames instead of pouring bees:
- Set up first. Make sure your hive is level, secure, and in its final spot before you pick up the bees.
- Set the nuc next to the hive and suit up. A few gentle puffs from the smoker help keep things calm.
- Make room. Take out enough empty frames from the hive box to fit the nuc’s frames.
- Move the frames one at a time, slowly, keeping them in the same order and facing the same way they sat in the nuc. Most of the bees will ride along, and that’s okay! Just be careful not to squish anyone.
- Fill in the gaps with your empty frames, then gently shake or brush the remaining bees from the nuc box near the entrance.
- Close it up, add a feeder, and walk away. Give them a few days to settle before you peek again.
My tip: Go slow. Calm, steady movements make for calm bees (and a calmer beekeeper).
The first months: feeding and inspections
Helping a new colony grow with pollen patties
A new colony has a lot of building to do, so we gave ours a boost. Along with the bees, we bought pollen patties and set them right in the hive.
Here’s why that helps: sugar gives bees energy, but pollen is their protein, and nurse bees need protein to raise baby bees (also called brood). Pollen patties give a growing colony carbohydrates, protein, and fat all at once, helping it build its population faster.
Feeding sugar syrup

A busy bee gathering nectar from purple blossoms in our yard.
Many beekeepers also feed sugar syrup to new colonies until there’s enough nectar blooming nearby. The general rule of thumb:
- Spring: a thin 1:1 syrup (equal parts sugar and water) to mimic nectar and encourage comb building
- Fall: a thicker 2:1 syrup (two parts sugar to one part water) to help bees store food for winter
Use only plain white granulated sugar. Brown sugar, raw sugar, molasses, and corn syrup can upset bees’ digestion. And never leave syrup out in the open, because it can trigger robbing from other colonies.
Hive inspections
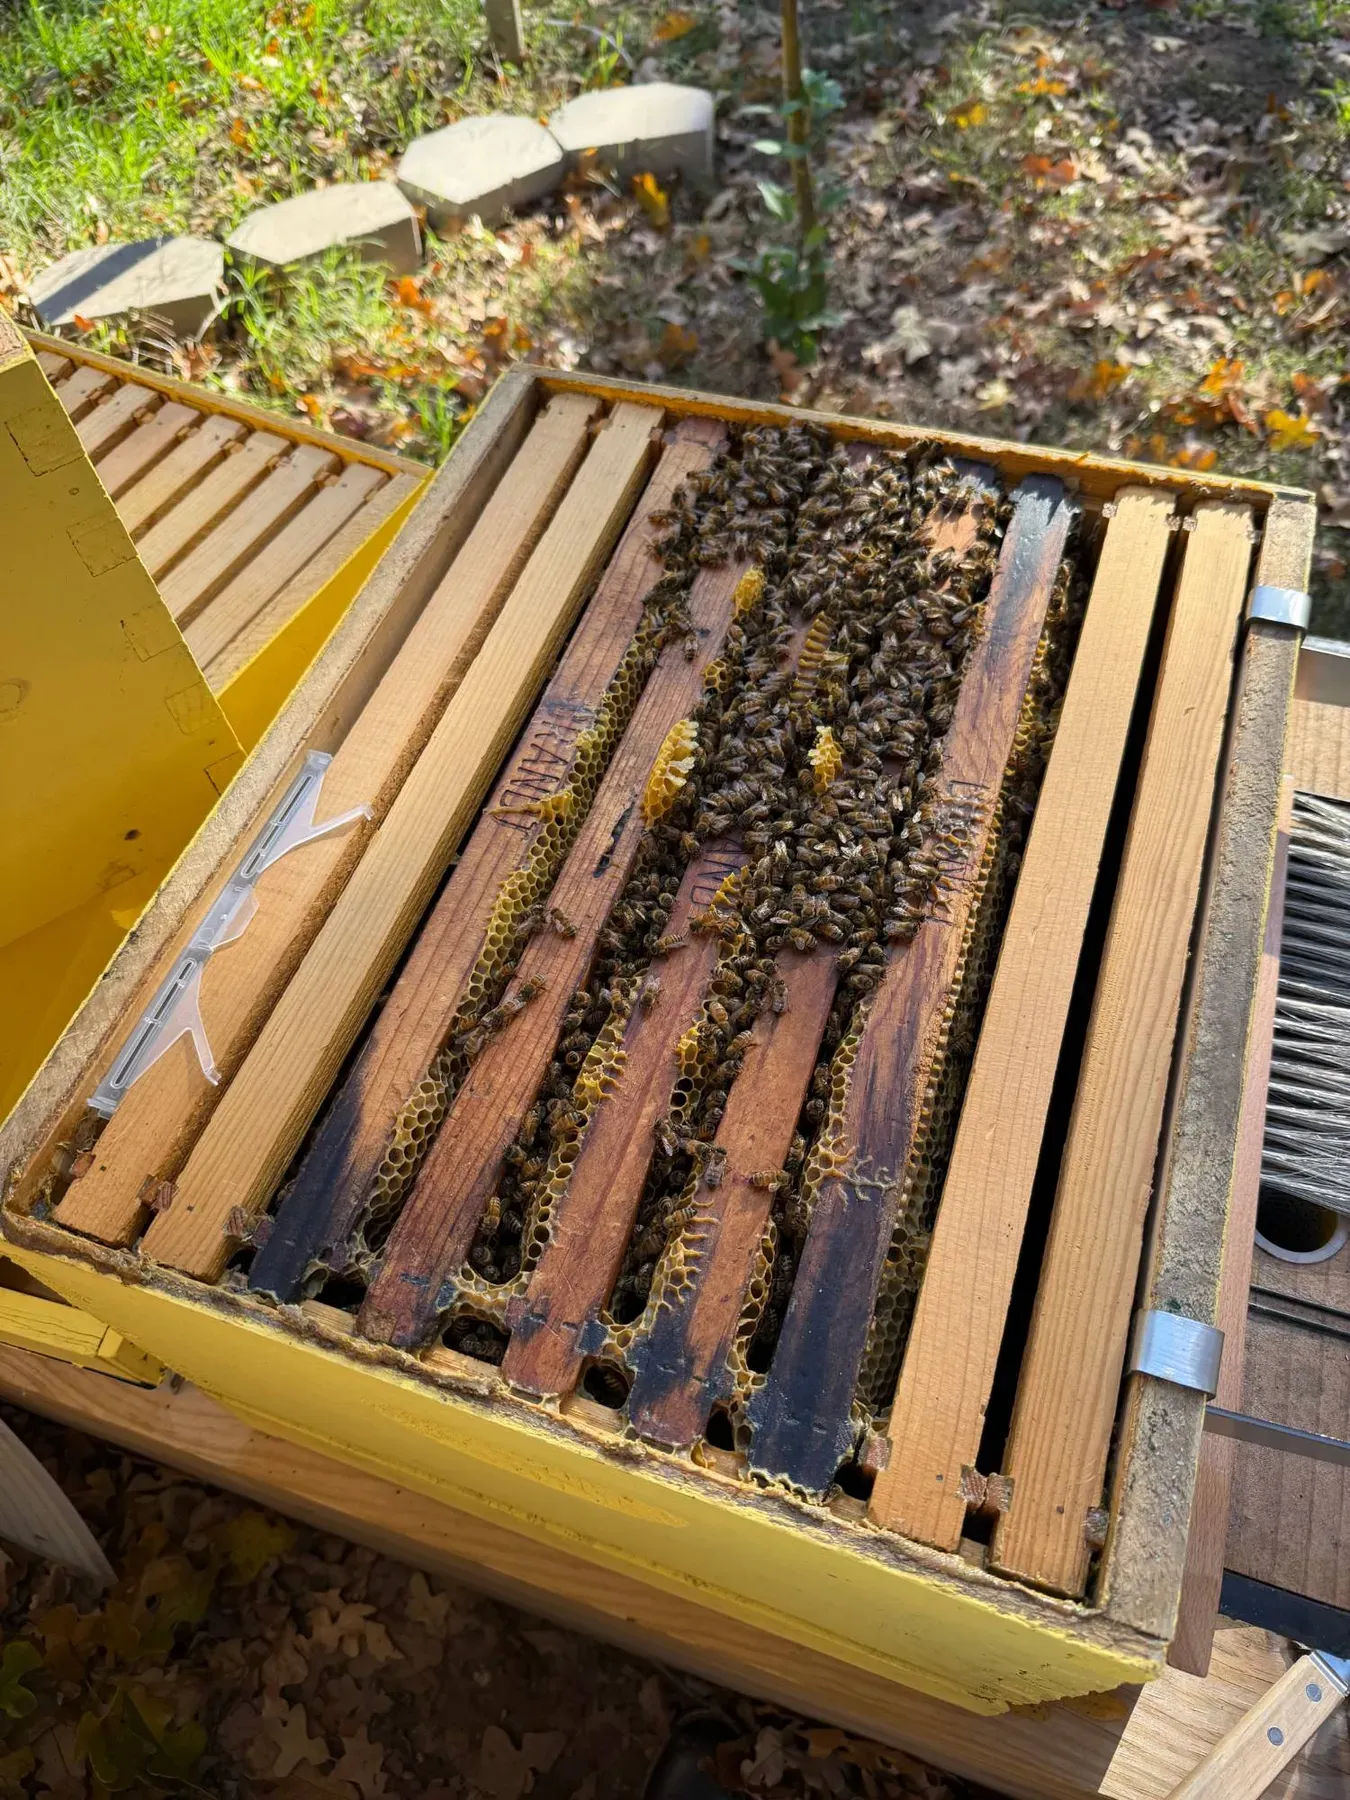
Inspections are how you check that your colony is healthy: Is the queen laying? Is there enough food? Do they need more room? We don’t want to check them so much that we disturb the hive. We checked on the bees around 9 days after we bought them, and from there we checked once a month.
The big three things beginners look for:
- Eggs and young brood, which means your queen is laying
- Stored honey and pollen
- Space, so the colony doesn’t get crowded and swarm (extra important with Carniolans)
Beekeeping with kids
One of my favorite parts of having bees is watching our little dragons fall in love with them. But safety comes first, so here’s our rule: when we open or inspect the hive, the kids watch from a safe distance. They still get to see everything and ask a million questions.
A few things that have worked for us, and for any family thinking about bees:
- Talk about bee behavior first. Kids who know bees are busy, not mean, stay calmer around the hive. They also know not to walk directly in front of the hives because it is like a runway for them.
- Make it a science lesson. Bees are a living biology unit for homeschoolers: life cycles, pollination, and how a colony works together.
- Know your family’s health. If anyone in your household has had a serious reaction to a sting, talk with your doctor before bringing bees home. No one in our family has a known bee allergy.
How much does it cost to start beekeeping?
Here’s our real first-year cost, because I always want to know this when I’m reading about a new homestead project:
| Item | Cost |
|---|---|
| Hive | $0 (a gift from a friend!) |
| Nuc of Oklahoma-raised Carniolan bees | $250 |
| Pollen patties | $21.49 |
| Protective gear and tools | about $45 |
| Feeder and sugar | $15 feeder, $6 for 8 lbs of sugar |
| Total | $337.49 |
If you’re buying everything new, budget more. Oklahoma State University Extension estimates the bare-minimum beginner equipment at about $458, rising to about $520 by the end of the first year, and that’s before you buy bees. A free or used hive (cleaned and checked for disease) can save a lot of money if you can find one.
A beekeeping year at a glance
Beekeeping follows the seasons. Here’s the rhythm in simple terms:
| Season | What the bees are doing | What you do |
|---|---|---|
| Spring | Building up fast, raising lots of brood | Install new colonies, feed 1:1 syrup and pollen if needed, give them room to prevent swarming, check mites |
| Summer | Foraging and storing honey | Add boxes (supers) as they fill, keep water available, watch for pests like hive beetles and moths. |
| Fall | Shrinking down, storing food for winter | Check mites and treat if needed, feed 2:1 syrup if stores are light, reduce the entrance |
| Winter | Clustering together to stay warm | Leave them be, protect from wind, check hive weight on warm days |
Don’t skip mite checks.
If there’s one thing every beginner needs to hear, it’s this: varroa mites are the biggest threat to honey bees. They spread viruses that can kill a colony, and a hive can look fine right up until it doesn’t.
The good news is you can measure them. An alcohol wash (about half a cup of bees from the brood nest) is the most accurate way to count mites. Extension experts recommend checking regularly through the season, and a common rule of thumb is to act if you find about 3 mites per 100 bees during the main season. Talk with your local beekeeping club or extension office about which treatment fits your situation.
Getting through an Oklahoma winter
Right now, as I write this in November, our bees are hunkering down for winter. Carniolans are known for wintering in smaller clusters and being thrifty with their stores, which is one more reason we chose them. Once the daily temps drop below 50 degrees Fahrenheit, we wrap our hive to help keep them warm.
Beekeeping for beginners FAQ
Is beekeeping hard for beginners?
It’s very doable, but there’s a real learning curve. The best thing we did was start with a nuc, which gave us a working colony from day one. Joining a local beekeeping club helps too. We also read a lot of books and watched educational videos on keeping bees.
Should beginners start with a nuc or a package?
Most beginners have an easier start with a nuc, because it comes with a laying queen and frames of brood and food. Packages cost less and can be shipped, but the colony starts from scratch.
What are the best bees for beginners?
Gentle stocks like Carniolans and Italians are popular with beginners. We chose Oklahoma-raised Carniolans because they’re calm and suited to our climate. Buying from a local breeder is a great choice wherever you live.
How much does it cost to start beekeeping?
Our nuc cost $250, and our hive was a gift. If you’re buying all new equipment, plan on several hundred dollars more for the hive, gear, and tools.
Can you keep bees with kids?
Yes! Our kids watch from a safe distance during inspections, and the bees have become one of our favorite science lessons.
Do you get honey the first year?
Often not much. A new colony spends its first year building comb and storing food for winter, so many beekeepers leave all the honey for the bees. We chose not to harvest honey in our first year.
Should you start beekeeping?
If you’ve been dreaming about bees, I say research it! Start small with one hive and a nuc from a local breeder, lean on your local beekeeping club, and give yourself grace as you learn. Our first year has been one of the most fascinating things we’ve done on the homestead.
I’ll keep sharing as our bees grow, so stick around for winter updates, our first honey harvest, and lots of bee science for kids. Have a question about getting started? Ask me in the comments!
Oklahoma beginners: Oklahoma State University Extension offers beginner beekeeping workshops and free fact sheets, and the Oklahoma State Beekeepers Association has local clubs across the state.
Sources
- Beginning Honey Beekeeping Equipment and Associated Costs – OSU Extension
- Honeybees program – OSU Extension
- Purchasing Honey Bees – Texas A&M AgriLife Extension
- Bee Nutrition – Utah State University Extension
- Honey Bee Nutrition – University of Tennessee Extension
- Sampling for Varroa Mites Using an Alcohol Wash – Mississippi State Extension
- Carniolan Honey Bees – Carolina Honeybees
- Types of Honey Bees – Mann Lake